


.svg)
No-code platforms can slow down your business and ruin your web app, be careful!
Wait what?
Isn't it logical to be the opposite?
Let me explain.
I guess you're an entrepreneur with a great idea for a web app that's going to shake things up online.
But there's a problem:
- Many believe that if they don't hire a programmer, it will take a ton of time to code their application.
- Some might think that without spending all of their earnings on a web app, its quality won't be good.
- It's a common misconception that no-code app builders are not functional enough.
Before diving into complex coding, consider a simpler approach that could save you time, money, and stress. I'll help you discover a straightforward six-step process.
But first, let's figure out what makes up a web app:
- Front-end (Webflow)
- Back-end (Xano)
But what do all these terms mean?
Think of your web app as a restaurant. When you go to a restaurant, you see the tables, chairs, menus, and waiters. This is similar to the "front end" of a website or app - it's what you see and interact with.
Now, there's a lot going on behind the scenes in the restaurant that you don't see, like the kitchen where the food is cooked, the storage room where ingredients are kept, and the management system that keeps everything running smoothly. This behind-the-scenes part is like the "back end" of a website or app.
Using no-code platforms like Webflow and Xano, you can easily manage both the front end and back end without needing extensive coding knowledge. Webflow allows you to design stunning, responsive websites visually, while Xano provides a powerful backend solution without requiring you to write code. Embracing no-code tools like these streamlines the development process, making it faster and more efficient to bring your digital projects to life.
Web application idea and underlying logic
Start by getting clear about what you want your web application to accomplish. This step is like creating a map before you start your journey.
Step 1: Decide what you want your web app to do
Often, business owners jump into coding without a clear plan, only to realize later that they're building something that doesn't quite meet their needs or those of their users.
By defining the scope of your web app upfront, you'll save yourself headaches later on.
So, take some time to outline the specific features and functionalities your web app should have.
Consider how users will use it, what problems it will solve, and what goals it will help you achieve as a business. The clearer you are about what you want, the smoother the development process will be.
Step 2: Understand what your users need
Now that you've figured out what your web app should do, it's time to get inside the heads of your future users. This step is like being a detective, solving the mysteries of your target audience.
By chatting with potential users, you'll learn valuable insights into their problems, wishes, and expectations. This info is super important because it guides how your web app evolves and ensures it connects with your audience.
But here's the thing about coding: it's like driving blindfolded - you can't see what's ahead until you've already picked a path. Traditional coding makes it slow and tricky to adapt based on user feedback, leading to missed chances and annoyed users. That's where no-code tools shine.
With these tools, you can quickly test your ideas and get feedback from users instantly. This lets you tweak your web app based on real user needs, making sure it's always on point.
So, put on your detective hat, chat with potential users, and get ready to uncover insights that'll shape your web app's success.
Step 3: Visualize your web app in action
Think of your web app like a scene from a movie playing in your head. Close your eyes and imagine it vividly - how it looks and what it does.
But here's the thing: bringing it to life can feel like building something in the dark - you're not sure how it'll turn out.
The usual methods can be slow and tricky, making it tough to turn your idea into reality smoothly.
So, take a moment to really picture what your web app could do. With a clear vision in your mind, you're setting the stage for making it happen.
Sketch your web app's layout
Let's map out the look and feel of your web app. Think of this step as plotting a course before you start your journey - it keeps you headed in the right direction.
Though not required, creating wireframes can give you a visual of your concepts. Without them, it's like tackling a Lego set without the guide - easy to lose your way.
So, here's a quick guide on how to make it in Figma (tool for doing UI/UX designs and wireframes):
- Sign in to Figma: Go to the Figma website and sign in to your account. If you don't have an account yet, you can sign up for free.
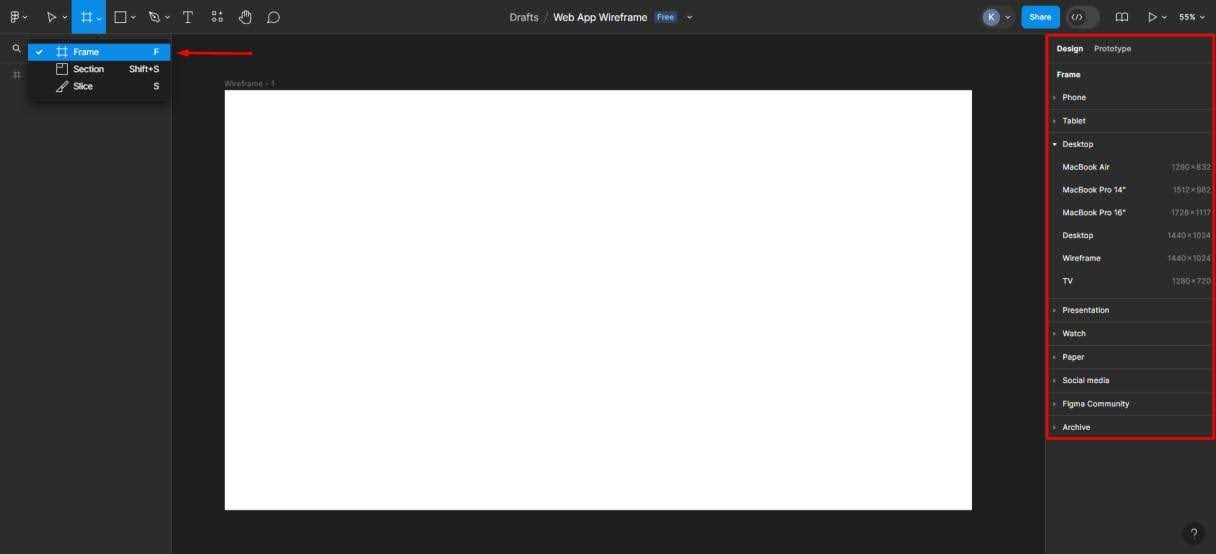
- Create a New File: Once you're logged in, click on the "New File" button to create a new project.
- Set Canvas Size: Figma allows you to set custom canvas sizes. Choose a canvas size that fits the screen size you're designing for, such as desktop (1920x1080), tablet, or mobile.
- Start Wireframing: Use the various shapes and tools available in Figma to start wireframing your web app's layout. You can draw rectangles for containers, text boxes for content, and lines for dividing sections.
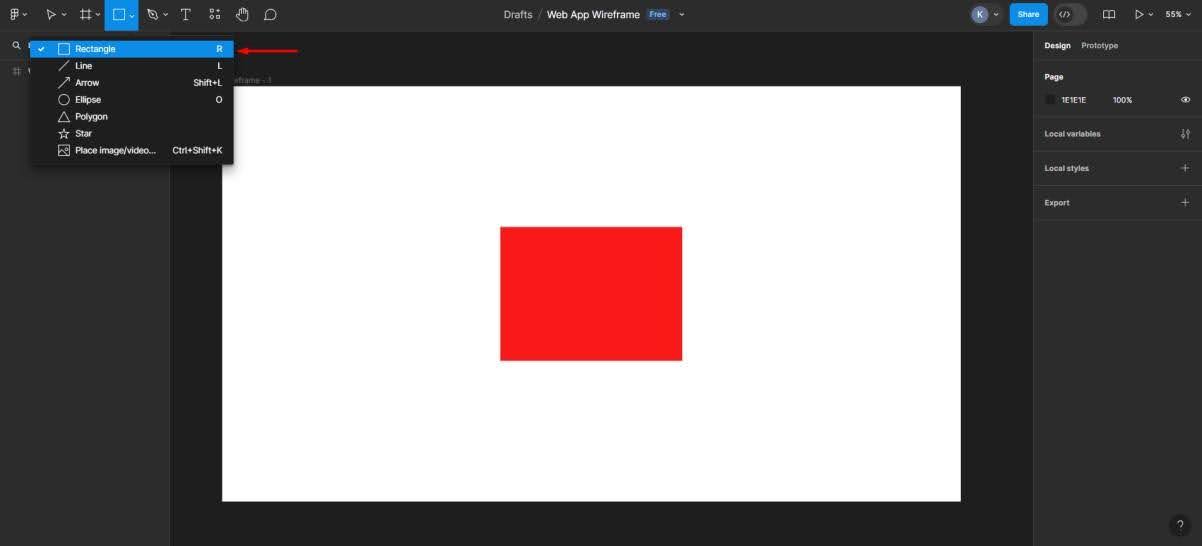
- Add Basic Elements: Begin adding basic elements to your wireframes to represent different parts of your web app. This includes navigation bars, headers, content sections, buttons, forms, and any other interactive elements your app will have.
- Arrange and Align: Arrange the elements on your canvas according to the layout you envision for your web app. Figma provides alignment and distribution tools to help you keep your design organized.
- Create Multiple Frames: If your web app has multiple pages or states, create separate frames for each one. You can do this by duplicating your initial frame and making adjustments as needed for each page or state.
- Iterate and refine: Take some time to review and refine your wireframes. Iterate on your design, making adjustments as needed to improve clarity, usability, and visual appeal.
- Gather Feedback: Share your wireframes with colleagues, stakeholders, or potential users to gather feedback. Figma allows you to easily share your designs with others and collaborate in real-time.
- Save and Export: Once you're satisfied with your wireframes, save your Figma file. You can also export your wireframes as PNG or PDF files to share with others or use in presentations
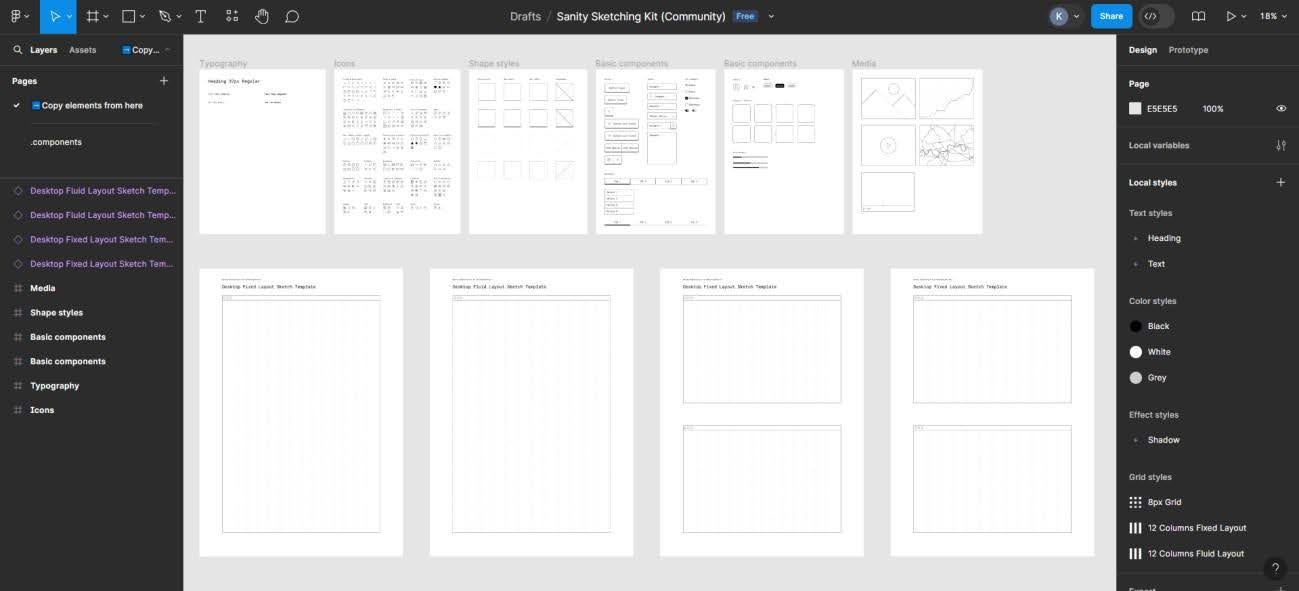
By following these steps in Figma, you can effectively sketch your web app's layout and move forward with the design and development process. To make it easier, you can use Figma wireframe kits for FREE.
Building web application front-end part in Webflow
Let's get started building your web app! Typically, creating a web app involves coding, testing, and tweaking. But with Webflow, it's much simpler.
In Webflow, you get a friendly interface. It's like a playground with all the design tools you need. Just pick what you want and place it on your page.
It's straightforward and pretty fun!
Alright, let's take a look:
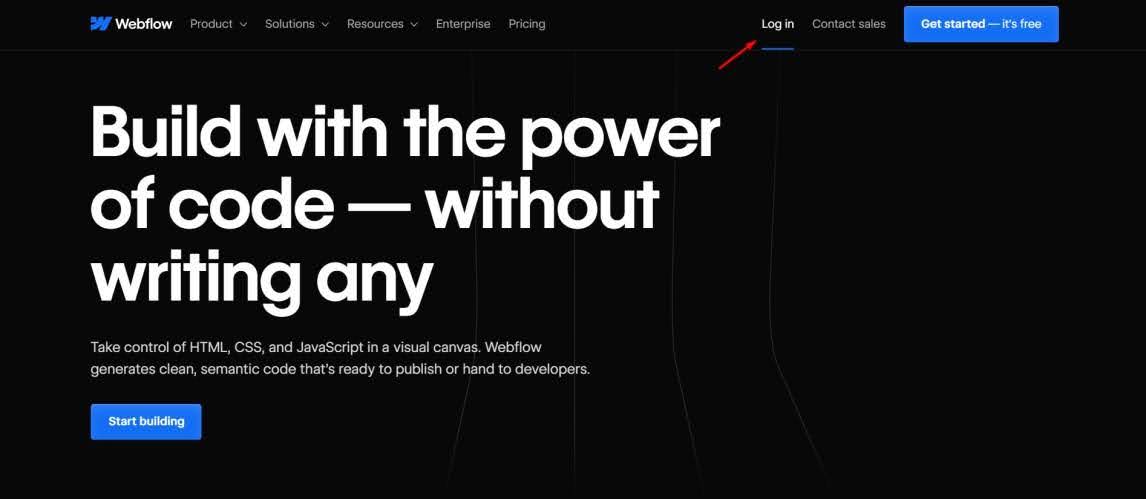
- Sign up and Log in to Webflow: If you haven't already, sign up for a Webflow account. Once you're signed up, log in to your account.
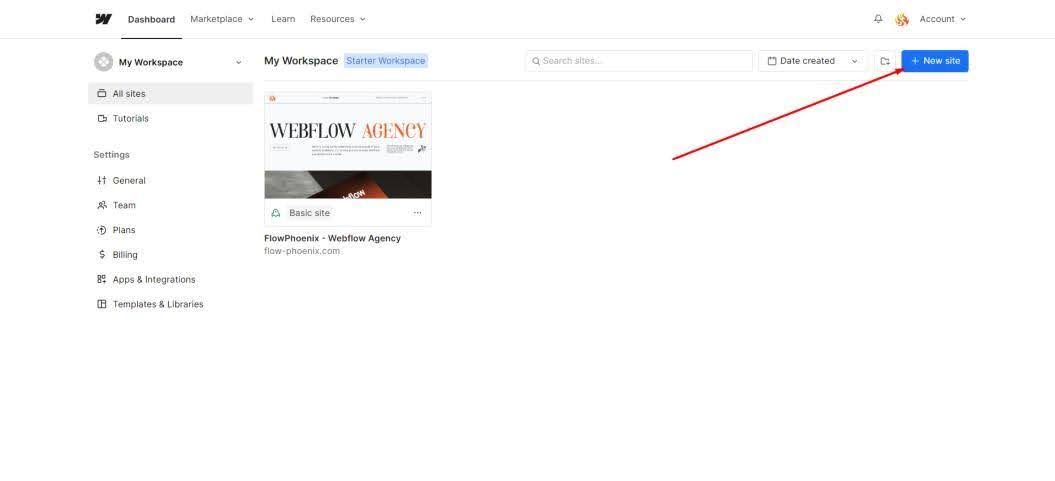
- Create a New Project: Once logged in, click on the "Create New Project" button. You can choose to start from a blank project or use one of Webflow's templates.
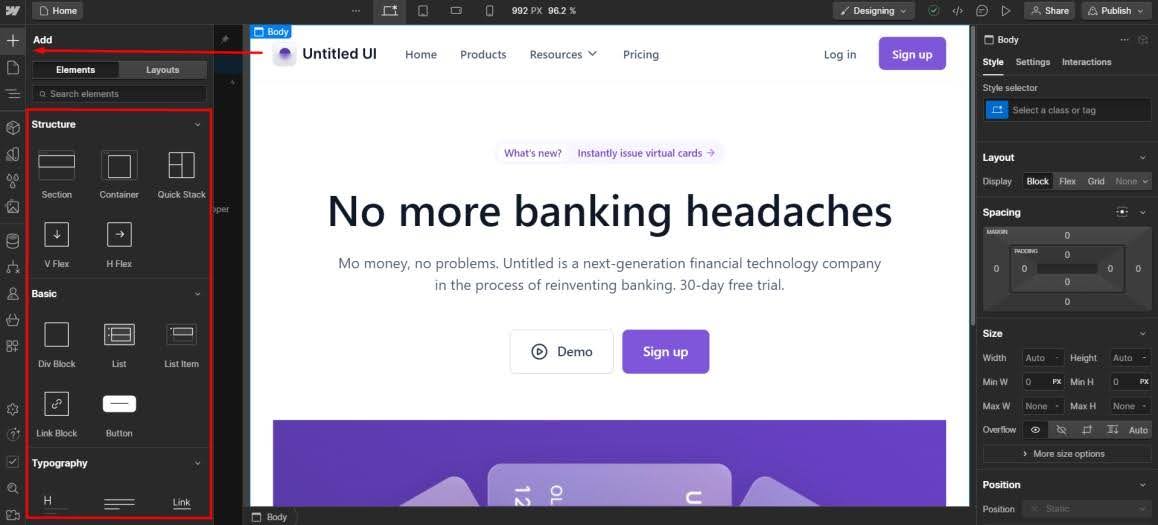
- Design Your Layout: Use Webflow's intuitive visual editor to design your web app's layout. You can drag and drop elements from the sidebar onto the canvas to create your design. Customize the layout, typography, colors, and other design elements to match your vision.
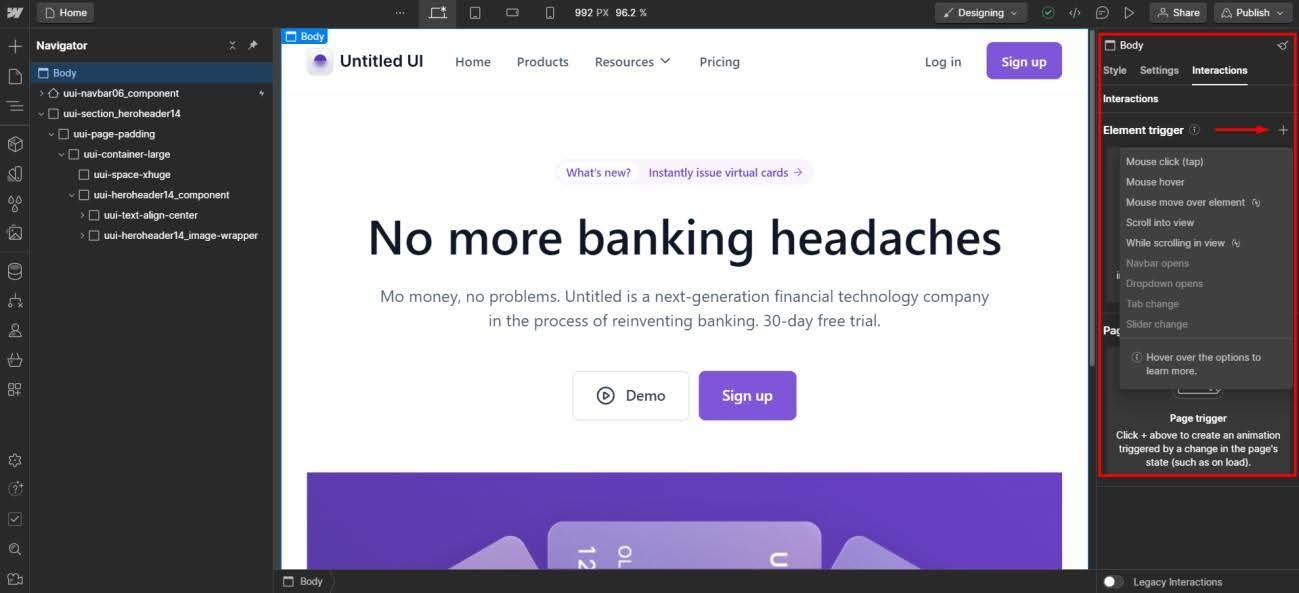
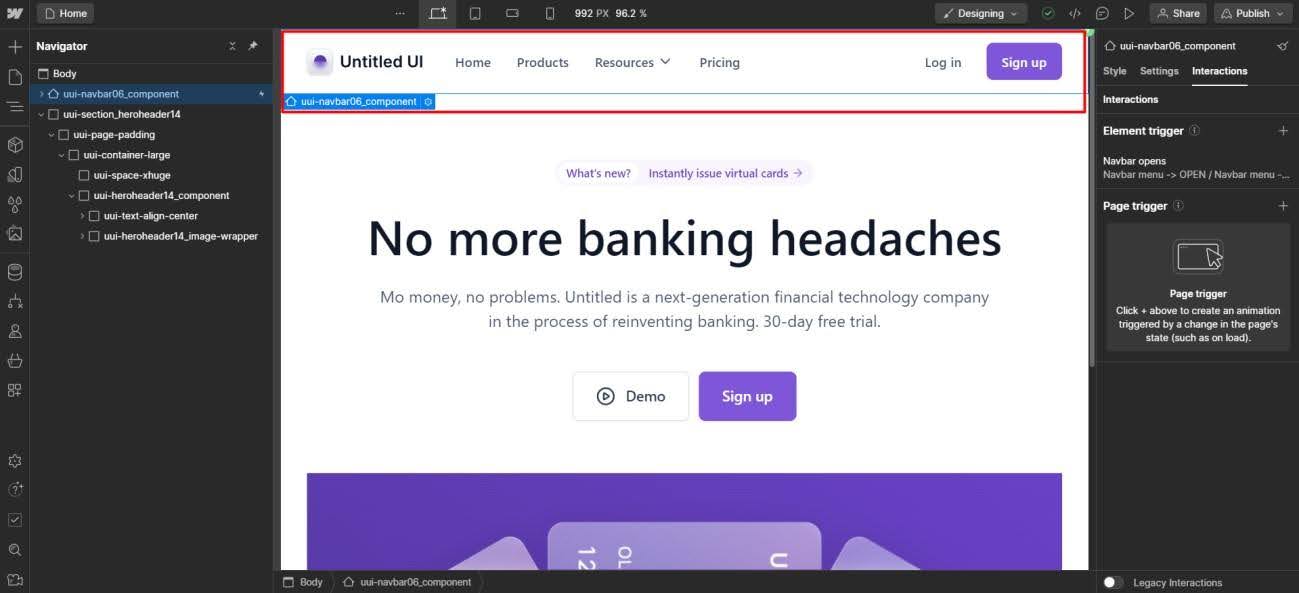
- Add Interactivity: Webflow allows you to add interactivity to your web app without writing code. Use the interactions panel to create animations, transitions, and other interactive elements. You can also use Webflow's CMS features to add dynamic content to your app.
- Set Up Navigation: Define the navigation structure of your web app by adding links and creating navigation menus. You can use Webflow's navbar component to quickly set up a navigation menu that links to different pages or sections of your app.
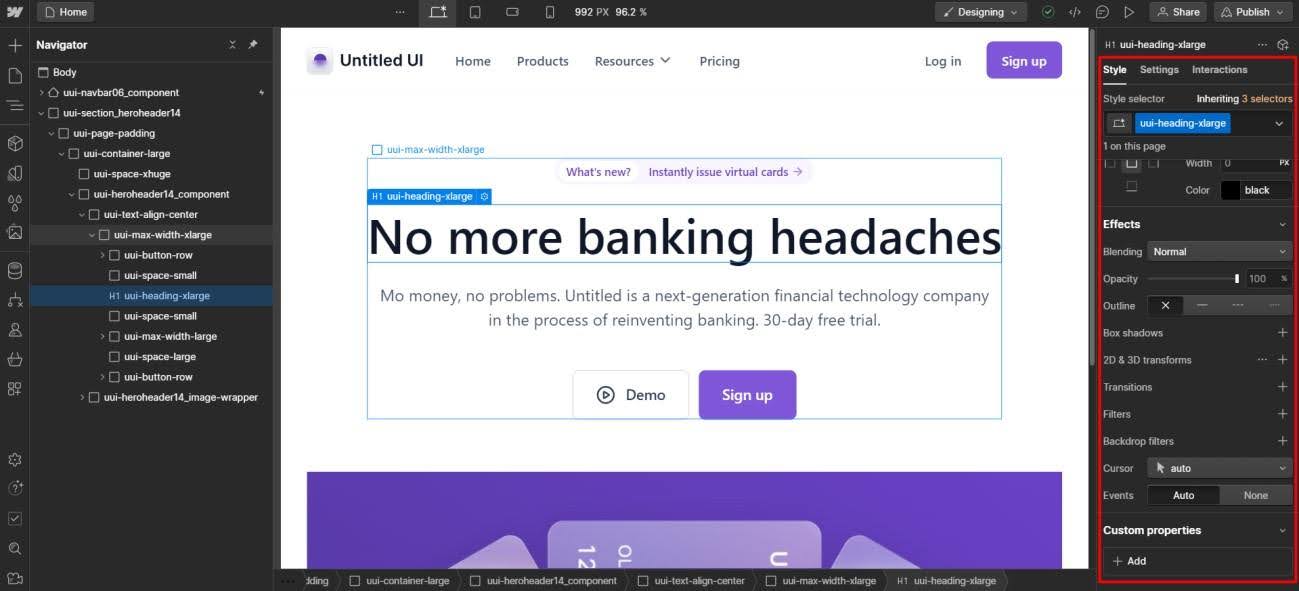
- Style Your Elements: Use Webflow's styling options to customize the appearance of your elements. You can adjust properties like size, spacing, borders, shadows, and more. Webflow uses a visual CSS editor, making it easy to see your changes in real time.
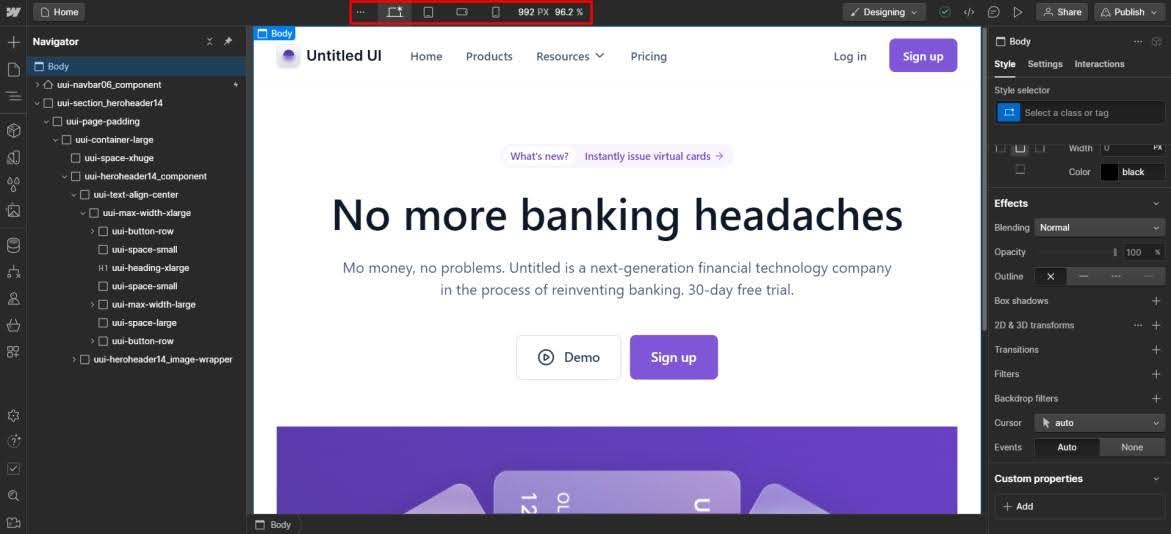
- Optimize for Responsiveness: Ensure that your web app looks and functions well on different devices and screen sizes. Webflow's responsive design tools allow you to customize the layout and styling for desktop, tablet, and mobile views.
- Add Functionality with Integrations: If your web app requires additional functionality, you can integrate third-party services and APIs with Webflow. Use integrations like Zapier, Shopify, or custom code to extend the capabilities of your app.
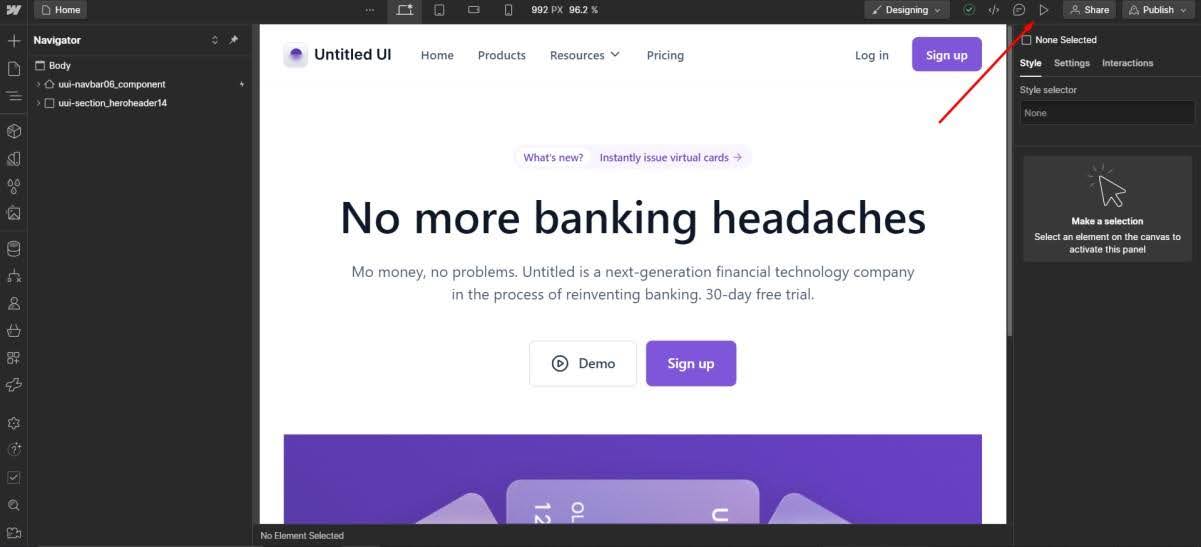
- Test and Preview: Before you put your web app out there, use Webflow's preview mode to check how it looks and works. Make sure everything runs smoothly.
Launching a website traditionally can be nerve-wracking. Unexpected bugs or issues might pop up, throwing off your plans. But with tools like Webflow, you can launch with confidence. You know your website has been thoroughly tested and is set up for success.
Before you launch, thoroughly test your website. Click buttons, fill in forms, and navigate through all the pages to ensure everything works smoothly. It's also wise to have friends, family, or colleagues test it from their perspective.
The best part? With Webflow, you can see your changes in real-time, so you'll know exactly how your website will look before it's live. Customizing your website with Webflow is easy, enjoyable, and doesn't require any coding skills.
And for the end of this chapter let's launch your front-end part of the web app - Once you're satisfied with your web app, you can publish it to the web with Webflow's hosting service. Simply click on the "Publish" button, and your web app will be live and accessible to users.

Building web application back-end part using Xano
Great! Now that we have set up the whole front end part of the web application, let's talk about the back end.
Xano is a platform designed to help developers build back ends for their applications without needing to write a lot of code. Here's what Xano can do:
- Database Management: Xano provides tools to create and manage databases. You can store, organize, and retrieve data easily, which is essential for most applications.
- APIs Creation: APIs (Application Programming Interfaces) are how the front end of an app communicates with the back end. Xano helps you create APIs quickly, so your app can request and send data to the back end smoothly.
- User Authentication: Xano has built-in features for user authentication, which means you can manage user sign-ups, logins, and permissions without having to build these systems from scratch.
- Business Logic Implementation: Xano allows you to set up the rules and processes that make your app function correctly. For example, if you need to calculate discounts, process orders, or manage user interactions, Xano helps you set this up easily.
- No-Code/Low-Code Development: Xano is designed to be user-friendly, so even if you're not an expert coder, you can still build a powerful back end. It provides a visual interface and pre-built functions that simplify the development process.
- Scalability: As your app grows and needs to handle more users and data, Xano can scale up to meet these demands. It manages the infrastructure, so you don't have to worry about the technical details.
- Integrations: Xano can connect with other services and tools you might be using, such as payment gateways, email services, and more. This makes it easier to add functionality to your app without reinventing the wheel.
In summary, Xano helps you build and manage the back end of your app quickly and efficiently, even if you're not a coding expert. It is really huge and it has steep learning curve so we have whole section of this website dedicated to Xano, please check it here.
Congratulations! You've created your web app, and now it's ready to launch.
But remember, launching is only the start.
Stay tuned for user feedback and be ready to make tweaks and enhancements as required. So, there you have it!
Building web apps without coding isn't just a fantasy, it's practical and beneficial for businesses.
Why worry about code when you can achieve results quicker and simpler?
With tools like Webflow and Xano, you can accomplish a lot without coding.
.png)

.png)


.png)
.png)